
Introduction
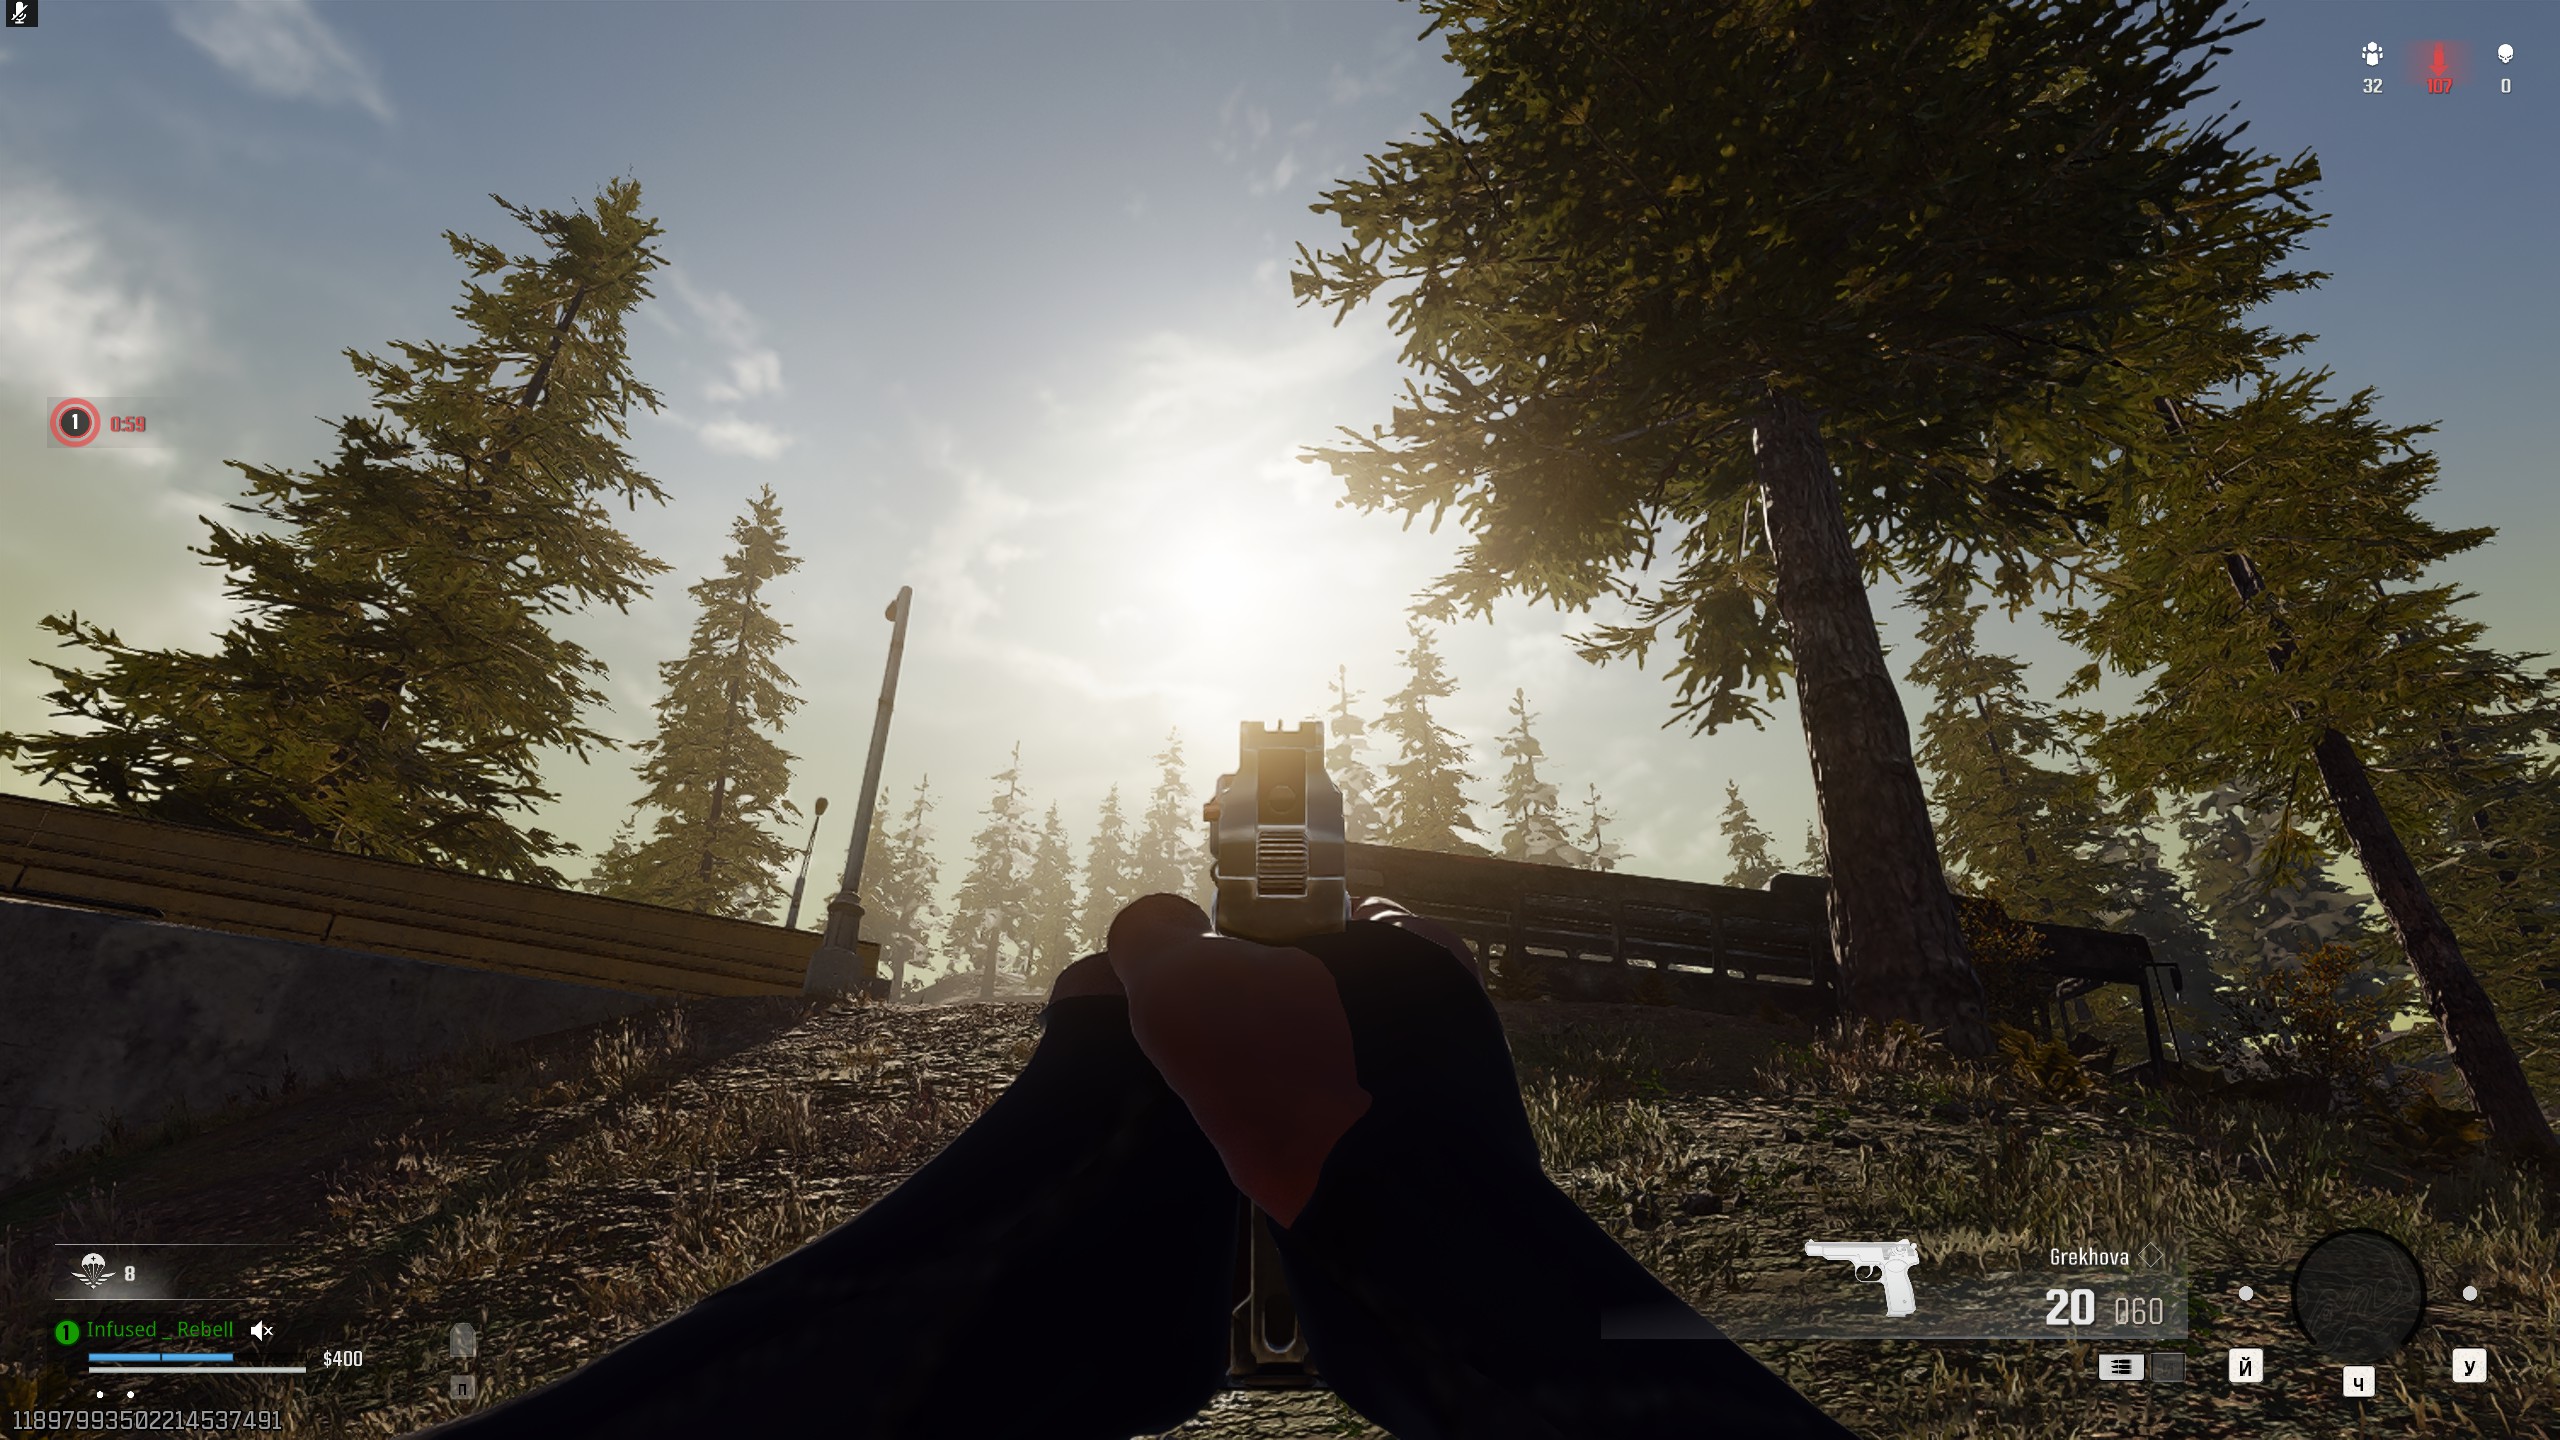
Call of Duty boosting in Warzone offers a way to rack up wins and XP faster by teaming up with skilled players who know how to push matches toward quick success. Instead of dropping into random lobbies and hoping for the best, boosting sessions focus on strategies that produce fast results: coordinated squad play, choice of high-value gear, and a clear path to endgame. For players who want to climb ranks, earn weapon XP, or unlock battle pass rewards without spending dozens of hours in standard matches, boosting provides a streamlined approach.
With experienced teammates guiding you through each match, you spend less time looting under fire or getting caught out in open areas. Each session runs like a short training camp, letting you learn efficient drop spots, ideal loadouts, and movement tactics that maximize kills and survival. While you still play on your own account and match rules remain the same, the squad’s focus on fast wins means you see the reward screens more often. That feedback loop—win, lobby, win again—builds confidence and helps casual or busy players make the most of limited play time. In this article, we cover the first three steps of a quick-win boosting session: squad drop coordination, choice of fast-kill loadouts, and selecting safe, high-loot landing zones.
Coordinate Squad Drops
Successful boosting sessions begin with drop point coordination. Before you jump, the squad leader gathers everyone in voice chat and shares a simple plan: where to land and who grabs which task. By picking a location known for good gear and fewer early fights—such as a suburban compound or lightly contested building cluster—your team can arm up quickly. Callouts matter: as soon as you see the flight path, one teammate signals the best drop point, another checks for enemy gliders nearby, and a third watches for open vehicles.
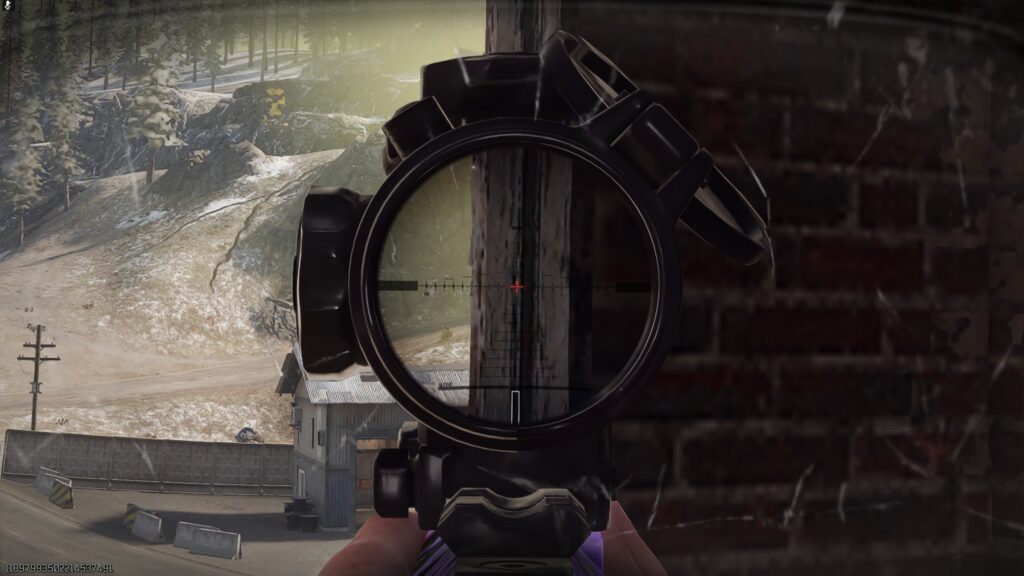
This split of duties ensures that at least one player grabs primary weapons and armor plates, another secures gas masks or heartbeat sensors, and the rest clear immediate skirmishes. Communication stays direct and short: “Garage clear,” “Looting back room,” or “Two enemies west roof.” When everyone knows their task, the squad moves as a unit, backing each other up if hostiles appear. If a fight breaks out, teammates call out health and ammo needs and share equipment that drops from downed enemies. This level of coordination cuts time spent looting under fire and lets your squad push toward high ground or vehicle extraction points faster. With drop plans executed cleanly, you start each match with full gear and a clear path to quick contracts or early kills—key steps in boosting your Warzone record.
Pick Fast-Kill Loadouts
Choosing weapons that deliver quick kills is essential for Warzone boosting sessions because every elimination speeds you toward match victory and extra XP. Loadouts built around close-to-midrange SMGs and shotguns tend to yield the highest kill counts in the first few minutes. For example, a 5.56 SMG with a lightweight barrel and quick ADS attachment lets you snap onto targets instantly. Pair that with a suppressor to stay off enemy radars and high-capacity magazines so you spend less time reloading. Secondary weapons like a pump-action shotgun with a choke attachment or a high-damage handgun can finish off downed enemies. Equipment choices also matter: throw a stun grenade to blind opponents before you rush, and carry frag grenades or claymores for quick area denial.
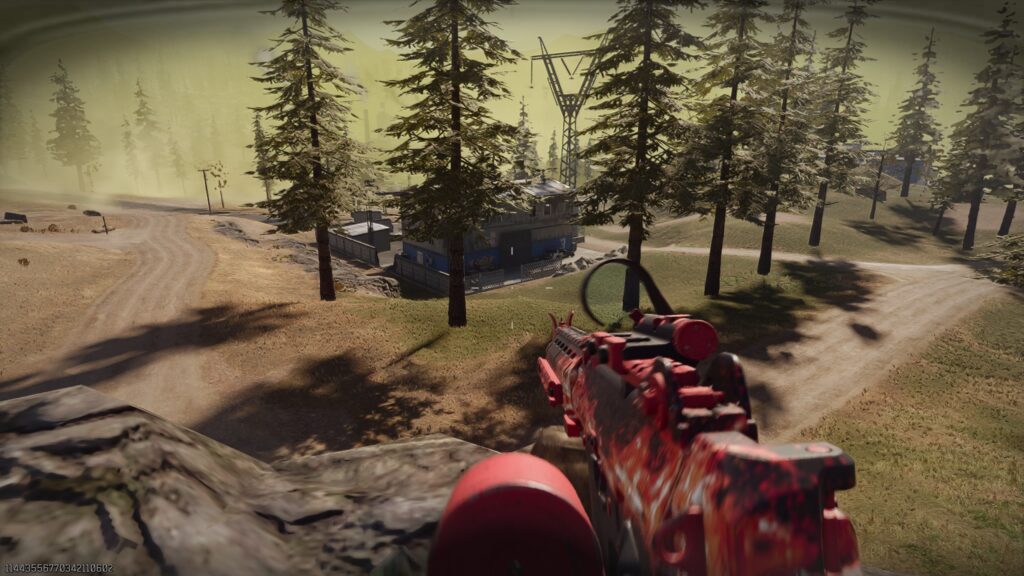
Perks should support aggressive play: Ghost or Cold-Blooded to avoid UAV pings, and High Alert to warn you of nearby fire. Armor Plate configurations with fast plates—single plates that boost speed—help you keep up the pace. Loadout practice in private matches ensures you know your weapon’s recoil pattern and switching time. When the contract location or circle path brings you into combat, you’ll land each shot cleanly and win gunfights faster. By sticking to weapons and attachments built for quick eliminations, boosting squads can stack kills early, secure contracts, and push toward final circles with a high kill count—each factor adding to your Warzone rank and XP gains.
Choose Safe, High-Loot Landing Spots
Picking a landing spot with enough gear but low enemy traffic sets your squad up for success. You want enough weapons, armor plates, and cash to move fast without early firefights. Below is a table of three popular drop zones, with notes on loot quality, typical enemy count, and distance to the first safe zone circle:
| Drop Zone | Loot Quality | Enemy Traffic | Distance to Circle | Notes |
|---|---|---|---|---|
| Satellite Array | High | Low–Medium | Short (2 mins) | Wide buildings, few hot drops |
| Quarry | Medium | Low | Medium (4 mins) | Good armor spawns, open area |
| Train Station | High | Medium | Short (2 mins) | Multiple buy stations nearby |
Satellite Array offers top-tier weapons and armor plates with relatively few squads dropping there. Buildings are spaced out, so you can clear rooms one by one without surprise flankers. Quarry has fewer chests but almost no early fights—ideal if you want to loot safely before moving on. Train Station sits near a buy station and can yield high-value contracts quickly, but squads may contest the platform.
When you land, split tasks fast: one player grabs primary guns, another secures armor and plates, and a third checks for cash or tokens. Keep communication tight—simple updates like “Weapons clear,” “Armor here,” or “Cash on roof” help the squad move as a unit. If you see an enemy glider, call out position and decide whether to fight or pull back to another building. By choosing a spot that balances loot and safety, you set the stage for swift contracts or rotations without losing time to early firefights.
Complete Contracts Quickly
Contracts are a reliable source of XP, cash, and loot, and finishing them fast pushes your squad toward match objectives and XP milestones. Focus on three main contract types for quick wins:
- Recon Contract: Mark several locations on the map. Finish by scanning through a UAV station. Offers a high XP reward and reveals enemy positions.
- Bounty Contract: Target a single enemy squad. Once you kill them, you earn cash and bonus XP. Quick if you stick together and use UAVs.
- Scavenger Contract: Hit three loot boxes in sequence. It’s simple to complete and gives armor plates and cash.
To knock these out efficiently, assign contracts to squad members: one grabs the Recon, another starts the Bounty, and the rest hit Scavenger boxes. Move in a tight formation so you can revive each other. If a Bounty target shows on the UAV, converge as a group to finish off the enemy quickly. Use fast-move equipment—like a precision airstrike or heartbeat sensor—to speed up the process. Complete two or three contracts back to back before rotating to the next area. This way, you stack rewards and clear objectives without wasted downtime.
Stacking contract rewards with weapon kills and final-circle XP multiplies your gains. Over a single session, finishing eight to ten contracts can match or exceed the XP you’d earn in a full solo match, making contract runs a key part of any boosting session.
Rotate with the Circle
Keeping ahead of the gas circle is crucial for fast wins in Warzone boosting. You want to move on your own terms rather than scramble under fire. As soon as you clear your landing zone and finish contracts, check the circle’s next position. Plan the shortest path—usually along a road or using a vehicle spawn—so you can slide into the safe zone without pausing. If you see a buy station en route, decide quickly whether to pick up UAVs or armor plates based on your current loadout.
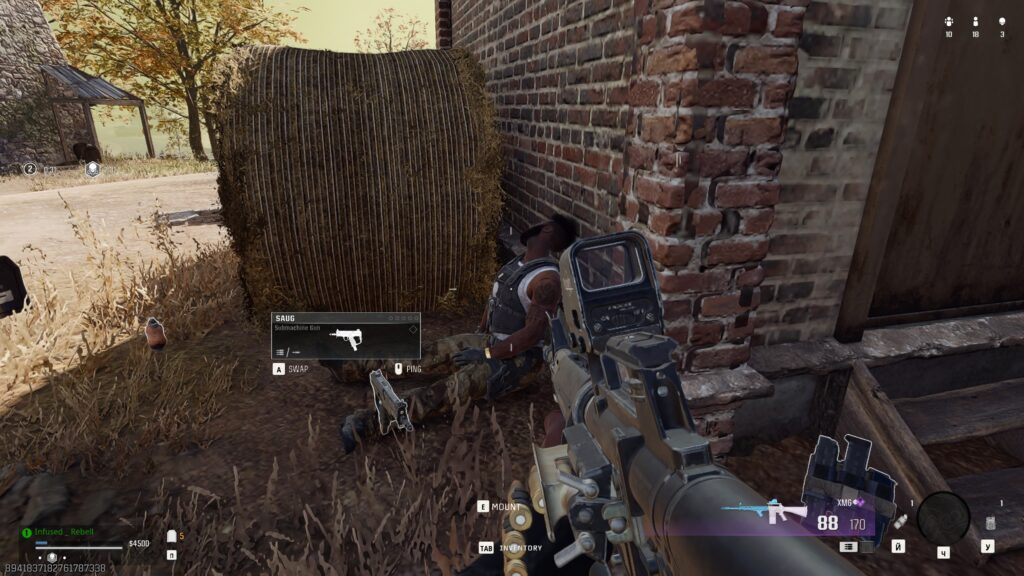
When the circle closes, high ground or building clusters near the edge offer good cover. Move in pairs or triples so you can revive each other if you get caught in a skirmish. If the path to the circle is wide open, use a self-revive kit or Gas Mask to buy time while you close distance. Vehicles like ATVs or trucks can cover large gaps, but they make noise and draw attention—use them only if you scout for enemies first.
Keep an eye on enemy markers from your Recon contracts or UAV reveals. If you spot a squad setting up on a ridge or rooftop, decide whether to flank or bypass. Quick decisions here can avoid drawn-out fights that kill your momentum. By rotating smartly and staying just inside the edge of the circle, your squad keeps the pace up, secures high-value positions for endgame, and maintains the boost session’s focus on fast wins rather than slow push zones.
Secure a Stronghold for Endgame
As the circle tightens, your squad needs a reliable spot to hold off other teams and claim the win. A stronghold combines cover, sightlines, and clear exit paths. Look for buildings on high ground, rock formations near the edge, or small clusters of walls that block fire. Once you pick a spot, set up overlapping fields of view: one or two players watch the main approach, while the rest cover flanks. Place claymores or proximity mines at likely entry points and use deployable shields or armored barriers to block sightlines. If you have a precision airstrike or mortar, hold it in reserve to hit enemy groups that gather outside your choke points.
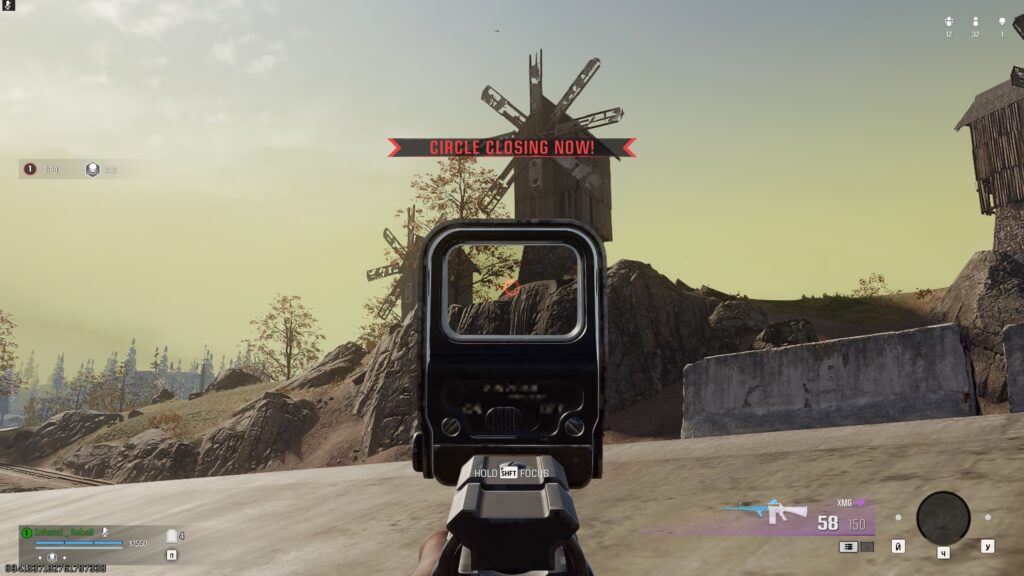
Inside the stronghold, spread out so you avoid crowding and friendly fire. Use heartbeat sensors or UAV pings to track incoming squads, and rotate positions every minute or two to keep enemies guessing. If the circle edge forces you to move, break down defenses quickly—pack up shields and mines, then slide toward the new zone in pairs. Having a clear exit plan prevents last-second rush fights that cost time and kills. By securing a solid endgame position, you force opponents into narrow paths where your squad’s loadouts and coordination shine. This tactic turns endgame chaos into controlled, high-value engagements that rack up kills and XP, pushing your Warzone record up with quick, decisive wins.
Use XP Tokens and Double XP Events
Boosting sessions become even faster when you stack in-game multipliers. Here’s how to apply them for maximum Warzone gains:
- Activate an Account XP Token: Choose a 2× or 3× token before your first match of the session. For two or three matches, a 2× token is ideal; if you plan four or more, use a 3× token.
- Apply Weapon XP Cards: In your loadout menu, trigger a weapon card that matches your session length—1.5× for quick runs, 2× for medium blocks, and 3× for long plays.
- Plan Around Double XP Windows: Check the in-game news or social channels for weekend double XP events. Running tokens and cards during these times gives you up to 6× total XP.
- Combine with Squad Wins: Coordinate with your boosting squad to secure match victories while boosts are active, maximizing both account and weapon XP.
By executing these steps before you drop, every kill, contract, and survival bonus delivers far more XP than usual. Over just a few matches, you can earn enough points to hit multiple level or weapon progression milestones, slashing the time needed for Warzone rank or battle pass rewards.
Session Flow for Multiple Wins
A clear session structure keeps your team focused on back-to-back victories without wasted downtime. Follow this flow for a two-hour boost block:
- Pre-Drop Brief: Confirm drop point, loadouts, and boost status (tokens/cards) in voice chat.
- Drop and Loot (Match 1): Land in your safe, high-loot zone; grab gear, finish one or two contracts.
- Rotate and Engage: Move with the circle, secure a high-value contract or kill target (Matches 2–3).
- Mid-Session Check: After two matches, review XP gained, swap any loaded-out weapons, and reapply smaller boosts if needed.
- Push for Wins (Matches 4–6): Use coordinated endgame tactics—stronghold defense or circle flanks—to clinch victories.
- Post-Match Debrief: Quickly note wins, total XP, and match count. Adjust the next session’s drop or loadout plan based on what worked.
This structure keeps you in lobbies and matches almost continuously, cutting hours off the typical grind. Players stay sharp with brief breaks and clear targets, and the squad keeps a steady pace of wins that rack up XP fast.
Conclusion
Boosting in Warzone for quick wins means focusing each match on high-value actions: coordinated drops, fast-kill loadouts, safe loot zones, rapid contracts, and smart rotations. Secure a solid endgame position with overlapping fields of fire, then stack tokens, XP cards, and double XP events to multiply every kill and win.
Follow a clear session flow to keep lobbies active and matches rolling. This approach turns hours of solo grind into streamlined, squad-driven runs, so you climb ranks, unlock weapons, and earn battle pass rewards at a pace that fits your schedule. Use these tactics in your next boosting session and watch your Warzone progress skyrocket.

Leave a Reply